Whether you have dinner guests to impress or just want to learn something new, achieving perfectly baked bread at home is sure to impress the masses and tantalise the tastebuds.
Nothing beats the smell of fresh bread straight from the oven but achieving the perfect loaf can be challenging.
From the quality of the flour you use to how you heat your oven, there is a multitude of factors that can influence the overall taste, fluffiness, crustiness and appearance of your bread.
There is also the weather to consider, but that is one thing you can’t control. For the rest, there are a few tricks of the trade that may help you to achieve perfectly baked homemade bread.
Whether you want to bake a crusty white Vienna or finger lime custard scroll, get ready to put on your baking hats and whip out the mixing bowl.
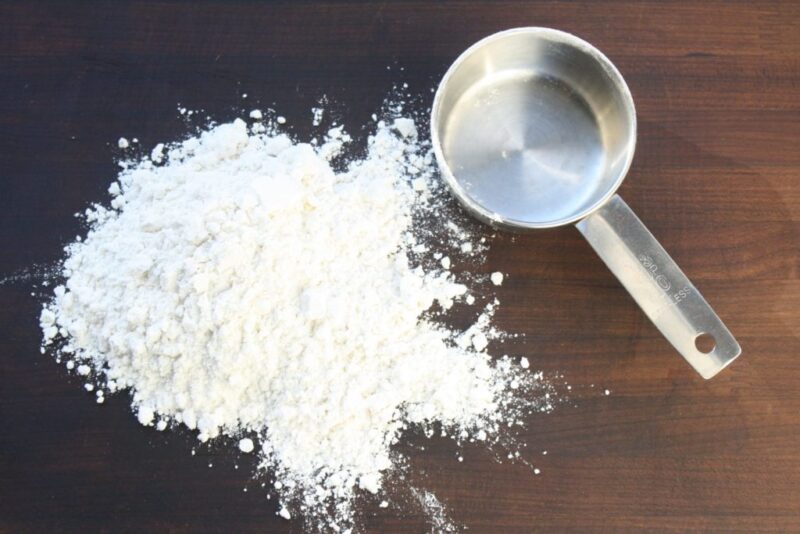
Use the Right Flour

There are very few ingredients needed to bake bread, but that doesn’t mean the simplest of ingredients can’t cause you a headache in the kitchen.
Despite the name, all-purpose flour might not be right for what you are baking, particularly if you need to use flour with a higher or lower gluten percentage.
For example, all-purpose flour has 8-11 percent gluten, this would not be ideal for baking a cake as the higher gluten content may cause the cake to turn out dense. Typically cakes should be baked using flour with 7-9 percent gluten.
This differs from bread, which typically needs a higher gluten flour, between 12 – 14 percent. Using all-purpose flour for baking bread may cause the bread to be too soft and not allow a nice crust to form.
Below are a general guide to help you select the right flour when baking:
• For bagels and pizza crusts, use high-gluten flour (14-15% gluten)
• For ordinary loaves of bread, use bread flour (12-14% gluten)
• For biscuits and cookies, use self-rising flour (9-11% gluten)
• For pie crusts and pastries, use pastry flour (8-9% gluten)
• For cakes, use cake flour (7-9% gluten)
Make Sure Your Dough is Properly Kneaded

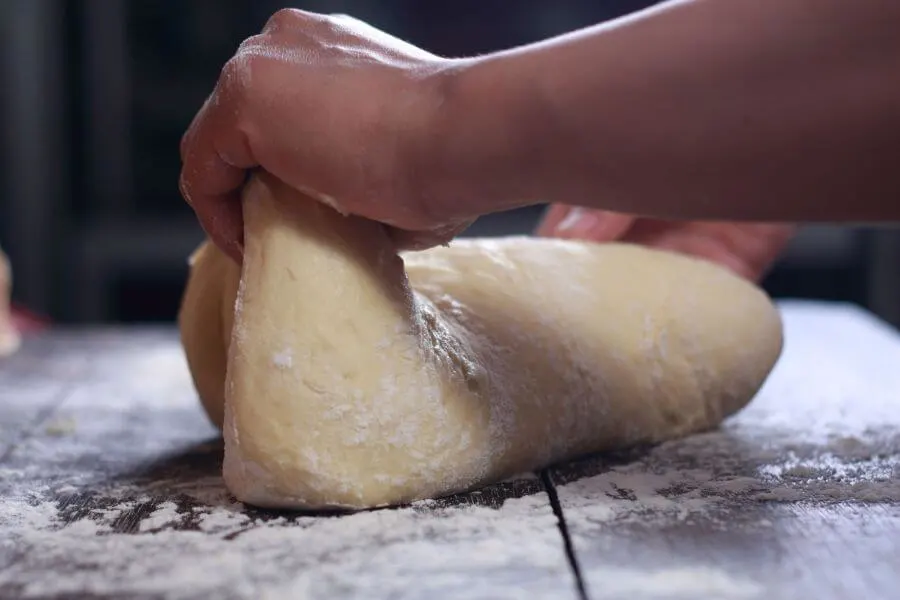
Kneading is a key step in the dough making process and arguably the most enjoyable part of making bread.
Kneading stretches and develops the gluten strands in the dough, which helps to incorporate micro air bubbles into the mass of the dough. This is an essential step that helps the dough hold its shape.
If you do not knead your dough enough, it will not rise and will instead spread out flat, which is why it is important to check your dough has been properly kneaded before you leave it to proof.
To determine whether you have properly kneaded your dough, use the windowpane test.
Also known as the gluten window test, the windowpane test involves holding a piece of dough between two hands with your thumbs and forefingers and then slowly stretching it. If your dough tears, this shows you have not kneaded it enough and you will need to work it some more.
If your dough stretches without breaking and you are able to make somewhat of a translucent dough window, then you have kneaded adequately and you can leave the dough to rest.
Rest, Shape and Proof Your Dough

Let’s be clear, resting your dough or letting it rise and proofing the dough are not the same.
The resting stage takes place after you have kneaded the dough. Depending on what you are baking or the amount of dough you have made, this can take anywhere from 30-minutes to a few hours. Your dough has sufficiently rested when it has doubled in size.
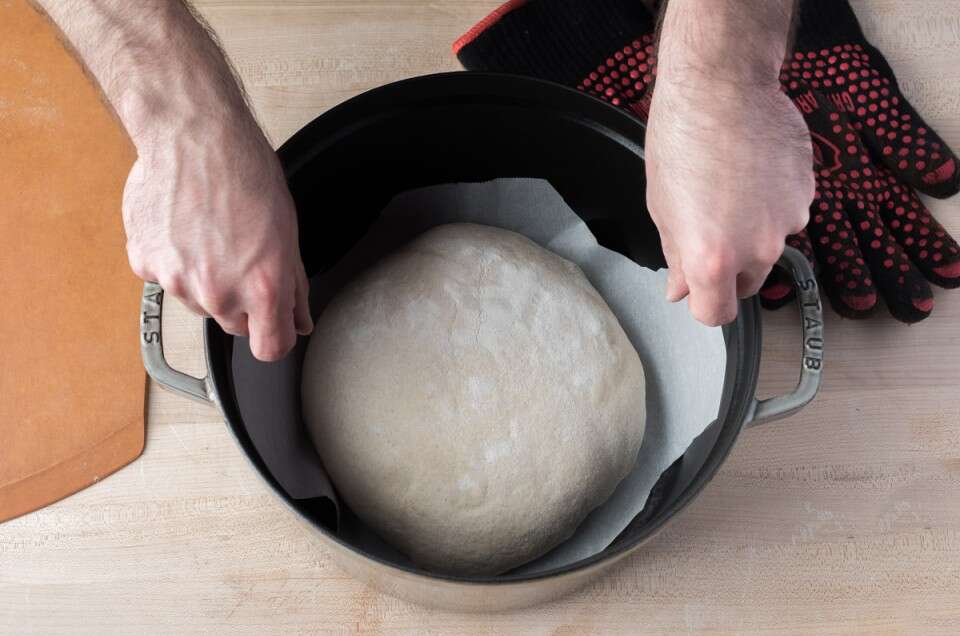
After the first rise or resting stage, you will shape your dough or put it into the baking tins. Following this, the dough will begin the proofing stage, which is also referred to as the final rise.
Both terms are similar because they refer to the fermenting process.
Baking bread at home does require some finesse, patience and trial and error. To help you find consistency and improve your baking creations, try to implement the above tip in your baking methods.


